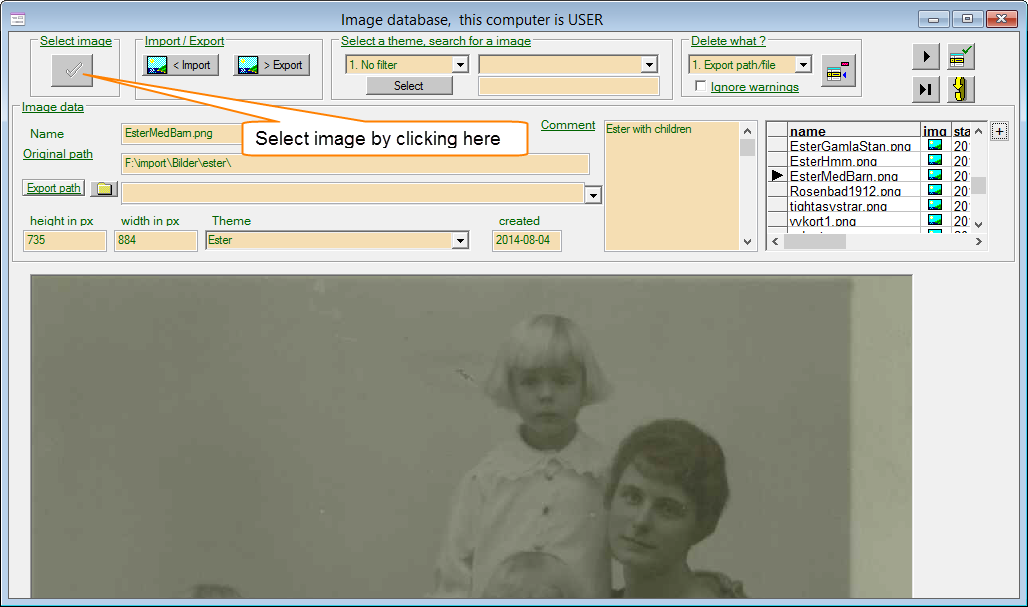
There is two ways to get to this window, either from the main window menu option Images or through the process of adding an image to a <<key>> in the webpage explorer. The difference is that the select button is enabled or disabled.........
A template system with template keys. Help you locate where to change your text and images.
There is two ways to get to this window, either from the main window menu option Images or through the process of adding an image to a <<key>> in the webpage explorer. The difference is that the select button is enabled or disabled.........

Some info about the image, like where you imported the image from, the original path. A history logg with all exported images. When you import the image the height and width is automaticaly added and saved to the database table row in webkeytemplate image database.
It is a good idea to catagorize the image into a theme. You add a new theme by typing a new name in the combobox and then click on the save button. Or choose one of the existing themes.
The comment you write is used as a default information. When you select an image from the image Db the comment is copied.
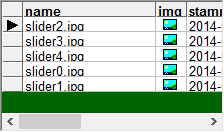
To the right you find a table grid. There is one row for each image. And as you know it is possible to filter them.
When you import imagies to webkeytemplate, it is a good idea to compress them and make them as small as possible when it comes to size in bytes, Kb (kilobytes) or Mb megabytes. A small amount of bytes is always preferable to send over the net. And further more the dbase database engine has some limtations.
Dbase can store up to 2 Gb in one image database table. Webkeytemplate handles in this version only one table. So if your camera produce images with a size of a 3 Mb, it is the possibel to store 2000 / 3 = 667 images. But if you compress a 3 Mb to what is a normal 300 kb size you will have 6667 images instead.
The image of Ester is 245 Kb for example.
If the physical image file exists the path is in green. If image file does not exist the path is in red.
If the file exists it is possible to delete it, you can choose to delete the image from the original path, the exported path or from the database table.

The image EsterMedBarn is selected, and pushbutton is enabled. That is why you you have choosed to click on
 button in the webpage explorer and then choosed to add an "Image", and clicked the
 button and after that choosed to
So here we are. If you change your mind about this Image, (wich is a nice one of Ester), you have the possiblity to search for another or import a new image from your hard drive.
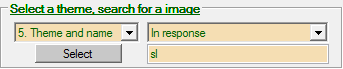

Add a filter / query and find the image you are interested in. Here we have a filter for the theme "In response" and all names containing the characters sl. The query is executed when you click the Select button. The SQL looks like this select * from images where theme = 'In response' and name like '%sl%'